
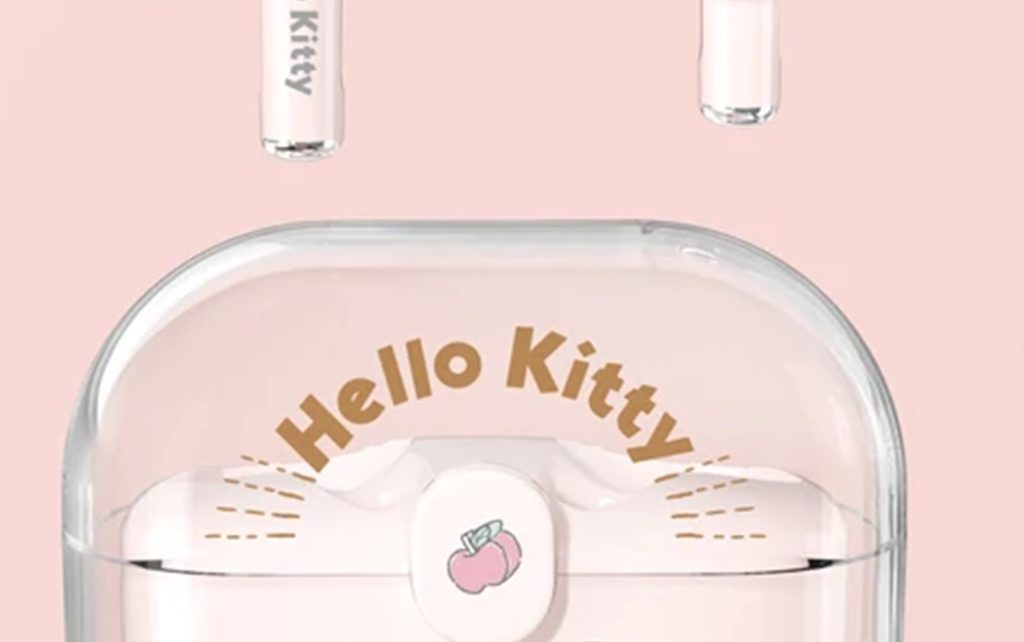
Hey there, fellow Hello Kitty fan! If you’re reading this, chances are you’re the proud owner of those adorable Hello Kitty earbuds that deliver great sound and look incredibly cute. Just like any other earbuds, your Hello Kitty ones deserve some TLC to keep them in tip-top shape. Cleaning your earbuds may seem like a daunting task, but fear not. We’ve got you covered. In this guide, we’ll walk you through the steps to clean your Hello Kitty earbuds so they stay as charming as the day you got them.
Why Cleaning Your Earbuds Is Important
Before we dive into the cleaning process, let’s quickly discuss why it’s essential to keep your earbuds clean.

Sound Quality
Clean earbuds produce better sound quality. When earwax, dirt, and debris accumulate on the speaker grilles, they can muffle the sound or even damage the drivers over time.
Hygiene
Your earbuds go into your ears, which means they come into contact with earwax and skin oils. Regular cleaning ensures that you’re not putting potentially harmful bacteria back into your ears.
Aesthetics
Hello Kitty earbuds are all about style. A clean pair not only sounds better but also looks better. Plus, you want to show off those cute little Kitty faces, not gunk and grime!
What You’ll Need
To get started with cleaning your Hello Kitty earbuds, gather the following items:
- Soft, lint-free cloth: You’ll use this to wipe down the earbuds and cords.
- Cotton swabs: Perfect for reaching into crevices and cleaning delicate areas.
- Isopropyl alcohol: A mild cleaning agent that can help dissolve and remove stubborn residues.
- Warm water: For a gentle clean.
- Toothpick or plastic pick: Handy for removing gunk from hard-to-reach spots.
- Mild soap: If needed, for a deeper clean.
Now that your cleaning arsenal is ready, let’s jump into the cleaning process.
Step 1: Power Off and Disconnect
Before you start cleaning, ensure your Hello Kitty earbuds are turned off and disconnected from any devices. Safety first!
Step 2: Remove Ear Tips and Cushions
If your Hello Kitty earbuds come with removable ear tips and cushions, take them off. These components can accumulate sweat and dirt, so cleaning them separately is a good idea. Check the manufacturer’s instructions for guidance on how to remove and clean these parts.
Step 3: Wipe Down with a Cloth
Take your soft, lint-free cloth and gently wipe down the entire surface of your earbuds. Pay special attention to any visible dirt, earwax, or smudges. If the cloth alone isn’t sufficient, you can dampen it slightly with warm water. Avoid getting any moisture into the speaker grilles or charging ports.
Step 4: Clean the Speaker Grilles
The speaker grilles are where sound comes out, and they can get clogged with debris. Here’s how to clean them:
a. Dry Cleaning
- Use a cotton swab to gently remove any visible dirt or earwax from the speaker grilles. Be careful not to push any debris further into the earbuds.
b. Wet Cleaning
- Dampen a cotton swab with isopropyl alcohol (preferably 70% or higher).
- Gently clean the speaker grilles with the alcohol-soaked swab.
- Allow the earbuds to air dry for a few minutes before reassembling them.

Step 5: Tackle the Cords
The cords of your earbuds can also collect dirt and oils. Here’s how to clean them:
- Wipe down the cords with a damp cloth.
- If there are stubborn spots, use a toothpick or plastic pick to scrape off the dirt gently.
- Be careful not to damage the cords or expose any wires.
Step 6: Deeper Cleaning (If Needed)
If your Hello Kitty earbuds still look dirty or have an unpleasant smell, you can perform a deeper clean:
- Mix a small amount of mild soap with warm water.
- Dampen a cloth or cotton swab with the soapy water (make sure it’s not soaking wet).
- Gently clean the earbuds and cords with the soapy solution.
- Rinse the cloth or swab with clean water and wipe off any soap residue.
- Allow the earbuds to air dry completely before reassembling and using them.
Step 7: Reassemble and Test
Once everything is clean and dry, reassemble your Hello Kitty earbuds. Reattach the ear tips and cushions if you removed them earlier. Now, it’s time to give them a test run to make sure they’re working perfectly.
FAQs
- How often should I clean my Hello Kitty earbuds?
You should clean your earbuds regularly, ideally once a week or whenever you notice visible dirt or decreased sound quality.
- Can I use alcohol wipes to clean my earbuds?
Alcohol wipes can be used, but it’s better to use a soft cloth or cotton swabs dampened with isopropyl alcohol. Make sure the wipes are not too wet to prevent moisture from getting into the earbuds.
- Can I submerge my Hello Kitty earbuds in water for cleaning?
No, you should never submerge your earbuds in water. Use a damp cloth or cotton swabs with minimal moisture instead.
- Is it safe to use a toothpick to clean the speaker grilles?
It’s safe to use a toothpick or plastic pick, but be very gentle to avoid damaging the speaker grilles or pushing debris deeper inside.
- Can I clean the ear tips and cushions in a washing machine?
Check the manufacturer’s instructions. Some ear tips and cushions may be machine washable, while others should be cleaned by hand with mild soap and water.
In Conclusion
Cleaning your Hello Kitty earbuds is a simple yet essential task to maintain their sound quality, hygiene, and adorable appearance. With just a few basic tools and a little care, you can ensure that your earbuds continue to bring you joy while listening to your favorite tunes. Discover the perfect blend of quality and affordability with the best Brookstone earbuds for your budget – whether you choose a sleek design or opt for cute Kitty earbuds, showcasing them with confidence. Remember, a clean pair of earbuds not only sounds better but also looks better, ensuring a happy listening experience every time!
